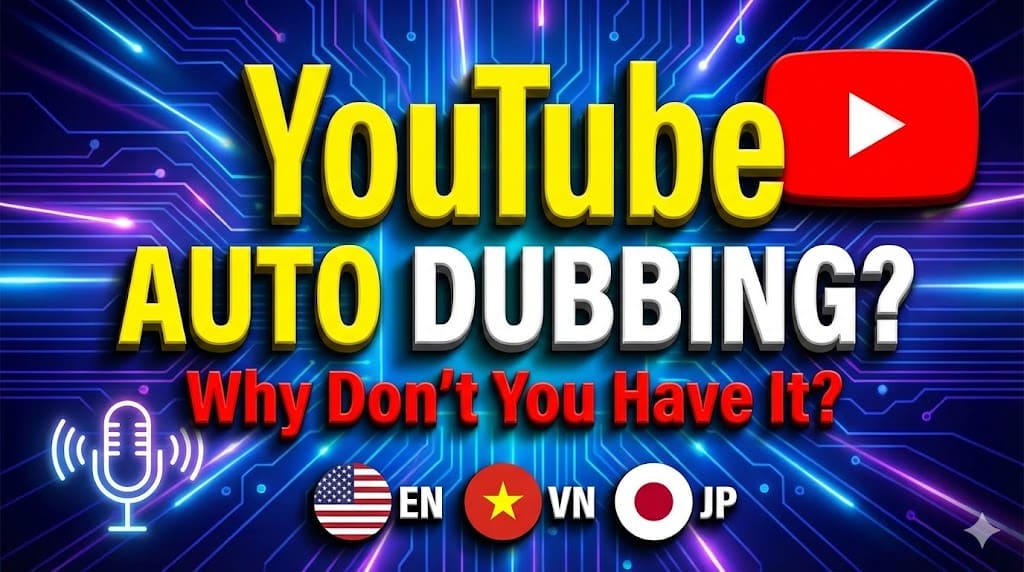
YouTube Auto Dubbing: How to Enable & Add Audio
YouTube is gradually rolling out YouTube Auto Dubbing, a feature that allows a single video to have multiple audio versions for different languages.
This means:
- Viewers in Vietnam → hear Vietnamese
- Viewers in the US → hear English
- Viewers in Japan → hear Japanese
One video. Multiple audio tracks.
However, not every channel has access to this feature.
1. What Is YouTube Auto Dubbing?
YouTube Auto Dubbing is a feature that:
- Automatically translates audio into other languages using AI
- Allows creators to upload separate audio tracks
- Automatically plays the appropriate language based on the viewer
Instead of uploading multiple versions of the same video, you can manage everything in one place.
2. Is This Feature Available for All Channels?
No.
YouTube is rolling out this feature gradually. Educational channels, larger creators, or selected accounts may receive access first.
If you don’t see it yet, that’s completely normal.
3. Why Don’t I See YouTube Auto Dubbing?
There are four common reasons:
- Your channel hasn’t been granted access yet
- The feature isn’t enabled in Advanced Settings
- Your video doesn’t have original subtitles
- Your content doesn’t meet eligibility requirements
Many creators search for this exact issue.
4. How to Enable Auto Dubbing in Channel Settings
Step 1
Go to YouTube Studio.
Step 2
Click Settings in the left menu.
Step 3
Go to Channel → Advanced Settings.
If your channel is eligible, you will see:
✔ Allow automatic dubbing
✔ Review dubs before publishing
If you don’t see this section, your channel hasn’t been granted access yet.

4.1 How to Turn Off YouTube Auto Dubbing
If Auto Dubbing is enabled on your channel but you want to disable it, you can manage this in YouTube Studio.
Turn off Auto Dubbing at the channel level
Step 1
Open YouTube Studio
Step 2
Go to the left menu → Settings
Step 3
Select Channel → Advanced settings
If your channel supports the feature, you may see options like:
✔ Enable Auto Dubbing
✔ Review dubbed audio before publishing
Simply disable the Auto Dubbing option to turn off the feature.
Turn off Auto Dubbing for a specific video
In some cases, you may want to disable dubbing only for a single video.
Step 1
Go to YouTube Studio → Content
Step 2
Select the video
Step 3
Open Languages / Audio tracks
From there you can:
- Remove added audio tracks
- Disable AI-generated dubbed versions
Once removed, the video will only play the original audio.
When should you disable Auto Dubbing?
Some creators choose to turn it off when:
- The AI voice does not match the intended emotion
- The content requires consistent voice branding
- The creator wants full control over the audio
In those cases, many creators prefer a different workflow:
Subtitle (SRT) → Convert to voice → Upload as audio track
👉 For example:
You can use an SRT to Speech tool to generate multilingual audio tracks from subtitles in just a few minutes.
5. How to Add Multiple Languages to a Video
Once enabled at the channel level, you must configure it per video.
Step 1
YouTube Studio → Content → Select a video.
Step 2
Click Languages in the left menu.
Step 3
Click Add language.
You can then add:
- Localized Title
- Localized Description
- Subtitles (SRT)
- Audio track (if supported)
YouTube will automatically show the correct version to viewers.

6. How Does YouTube Choose the Audio Version?
YouTube selects the audio track based on:
- Viewer account language
- IP location
- Device language settings
The system automatically prioritizes the best match.
7. Limitations of YouTube Auto Dubbing
Despite being powerful, it has limitations:
- Not available to all channels
- No MP3 export option
- Cannot be used outside YouTube
- Limited control over AI voice
If you distribute content across multiple platforms, you may need a more flexible solution.
8. A More Flexible Solution: Convert SRT to Speech
Instead of waiting for YouTube access, you can:
- Create multilingual SRT files
- Convert SRT into MP3
- Upload the audio track manually
- Use the audio for TikTok, Reels, or Podcasts
👉 Internal link placement example:
If you already have subtitles, you can use a convert SRT to speech tool to generate multilingual audio files in minutes.
- subtitle to voice converter
- SRT to MP3 tool
9. Comparison: YouTube Auto Dubbing vs SRT to Speech
| Feature | YouTube Auto Dubbing | SRT to Speech |
| Available for all channels | ❌ | ✅ |
| Export MP3 file | ❌ | ✅ |
| Use outside YouTube | ❌ | ✅ |
| Full voice control | Limited | Full |
| Automation flexibility | Limited | High |
This comparison helps creators choose a long-term strategy.